learn about all things surface pattern design including the creative design process, being a successful creative entrepreneur & stepping into the mindset of a successful designer
welcome to the pattern design blog
blog
The
Categories
Popular
How to create pattern stamps in Photoshop
When I’m designing in Photoshop and Illustrator I’m always looking for quick ways to be able to create my pattern repeats. A really great trick in Photoshop is using brushes to create stamps of your motifs that you can repeat within your design. In this post, we’re going to look at how to create pattern stamps in Photoshop.
How to create pattern stamps in Photoshop
1. This first thing you need to do is to draw the motif you’d like to use as your pattern stamp. This can be absolutely anything you like but there are a few factors you need to consider:
- Your pattern needs to be only one colour so if you have leaves and flowers that you want in different colours then create them as separate stamps
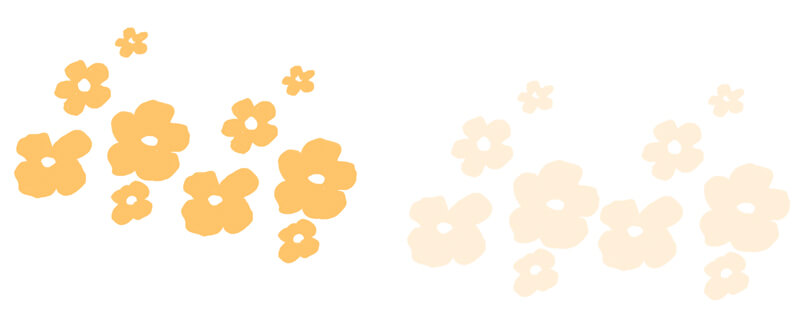
- If you want your pattern to be opaque then you need to create your pattern in black. If you create your pattern in any colour other than black it will appear transparent when you stamp it.
- When using your pattern stamp brush, you can change the brush to whatever colour you like.

In the example above, the pattern stamp on the left has been created in black and you can see that the pattern is opaque. The pattern stamp on the left was created in colour and you can see that the pattern is transparent.
2. Once you’ve created the motif you’d like to use as a pattern stamp, you need to select the motif. The easiest way to do that is by:
- Using the Lasso Tool or one of the shape tools to select the area around the motif you’ve created
- While it’s selected, select the Magic Wand tool. Make sure the Tolerance = 0, Anti Alias and Contiguous = Off
- Click the ALT/Control key on your keyboard and click on the white space within the selection
You should now see marching ants around your motif and nothing else should be selected.
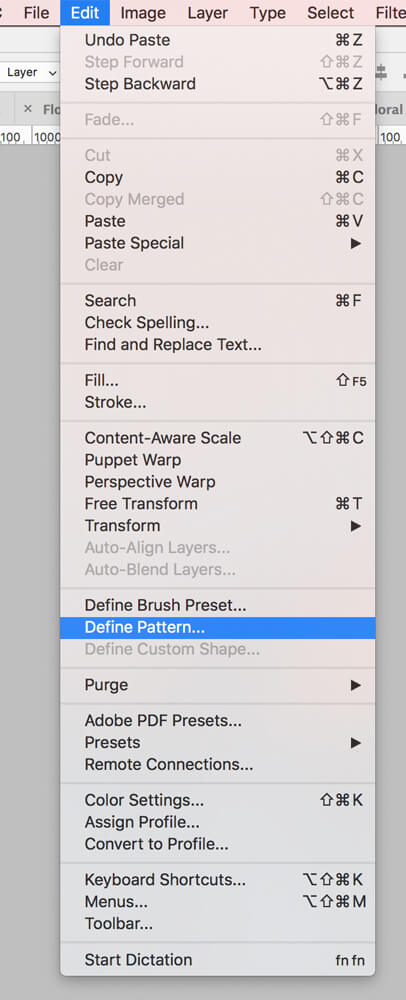
3. With your pattern still selected go to Edit > Define Brush Preset. A pop-up box will appear allowing you to name your pattern. Name it and then select OK.

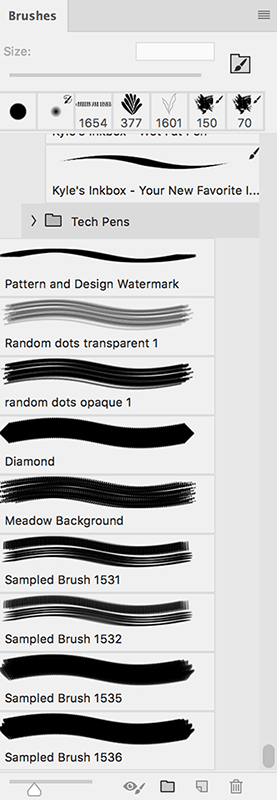
4. Now all you need to do is to select the pattern stamp brush from your brushes panel. To find the brushes panel go to Window > Brushes. The brush you created will be the last one in the scroll down menu.

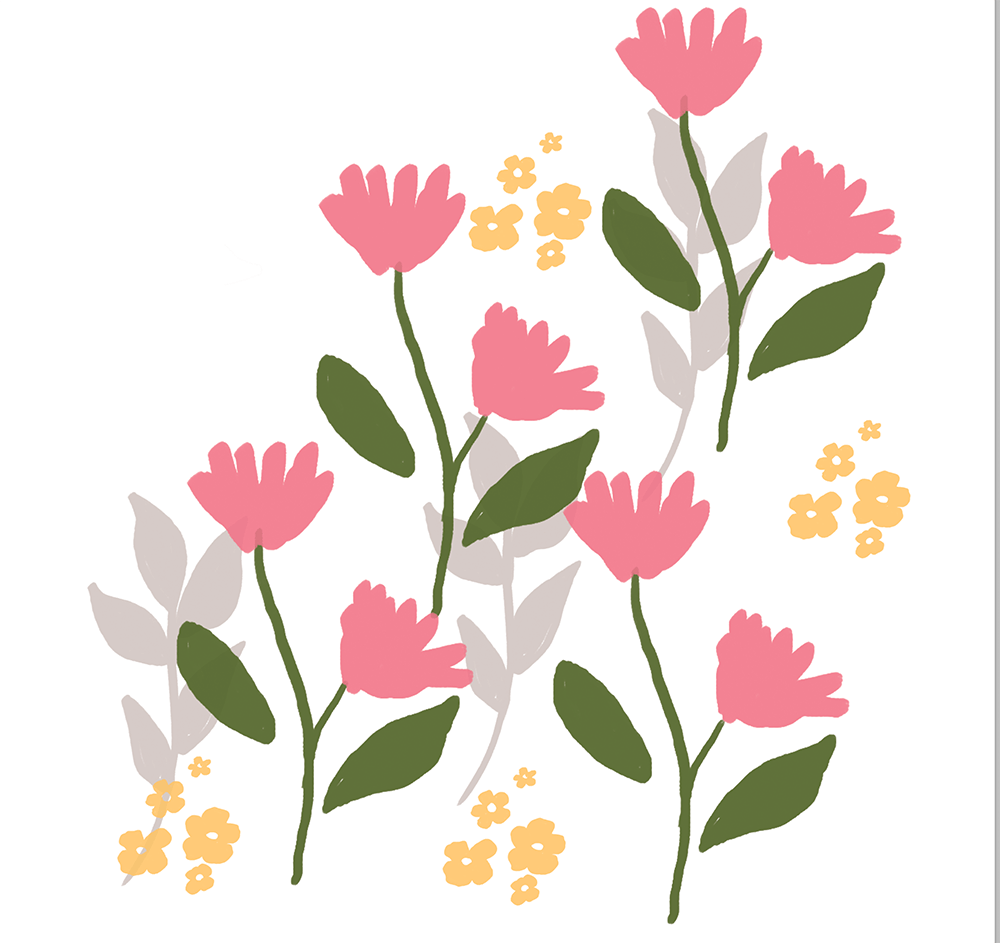
5. Select a colour you’d like to use for your brush, and then use your brush as a stamp to create a design.

Once you’ve created your pattern stamp brushes you will be able to easily reuse them again and again in any future designs simply by finding them in your brushes panel.

Want to create another revenue stream by turning your art into surface pattern designs?
Get the free guide
Get my FREE Surface Pattern Design Starter Guide