learn about all things surface pattern design including the creative design process, being a successful creative entrepreneur & stepping into the mindset of a successful designer
welcome to the pattern design blog
blog
The
Categories
Popular
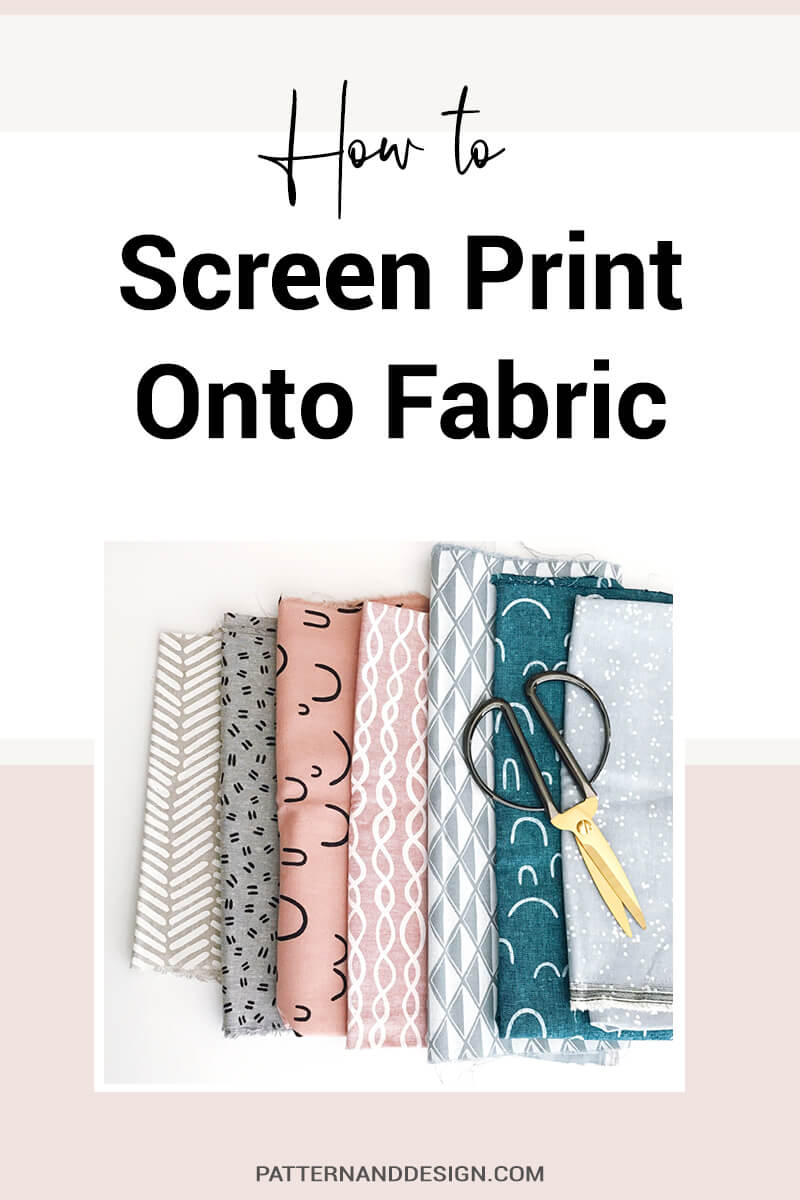
How to Screen Print onto Fabric
I know that a lot of you are really interested in the process of screen printing a design onto fabric. It’s really important to have a good understanding of how it’s done before you start designing so you are aware of your limitations.
You can either choose to screen print your design yourself or you can find a manufacturer to do it for you. Obviously, there are pros and cons with both and it’ll depend on what sort of business you are creating.
If you ever do get the chance to try it yourself, it’s a really fun process!
How to Screen Print onto Fabric
1. Preparing Your Artwork
The first step you need to consider is how you are going to get your artwork onto the screen. The choice you make will determine how you prepare your artwork.
The are two main ways of doing this, and they are using stencils or photographic methods.
Acetate Stencils:
The process of creating a stencil is by cutting your design using a sharp knife out of the acetate. Whatever you cut will be the positive image (or the image that you want to see on your fabric/paper). You could also cut your design out of paper but acetate is a much better option as you are able to clean and reuse it.
Photographic Stencils:
Photographic stencils involve you either painting your design directly onto a specialist film or by digitally printing directly onto the film or acetate. The most important thing is that your artwork is opaque. If you’re hand painting your design onto film you can buy a specialist opaque medium.
The best way to check if your artwork is opaque enough is by holding it up to the light. You shouldn’t be able to see through the areas you have painted. If there are patches of light coming through, then you’ll need to touch up those areas.
Screen Separation:
One of the biggest things that you need to consider when screen printing is that you have to colour separate your artwork. That means that each colour will require its own stencil and screen.
The most important thing to remember if you are using more than one colour is that you have to register your artwork. That means that each stencil (of the different colours) needs to line up when it’s printed. If you don’t register your artwork then the elements won’t line up.
I won’t go into the technicalities of screen separation in this post but it’s something you need to be aware of.
It’s also worth considering at this point that more colours= more screens and if you’re paying someone to screen print for you, then it means it will cost more to produce. If you are printing yourself it also means more money and time.
Once you’re happy with your artwork it’s time to get it onto the screen.
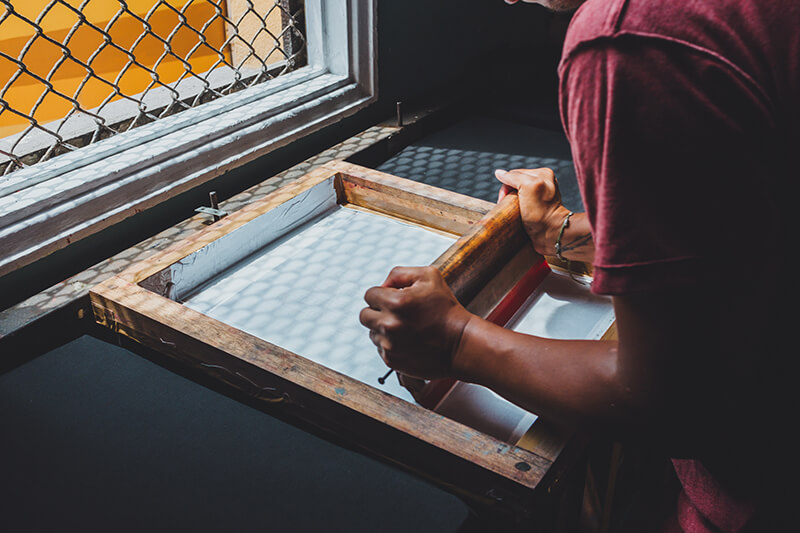
2. Screen Preparation
Before you begin using your screen you need to make sure that it’s clean. This will involve degreasing and cleaning your screen with a high-pressure hose. Before you start you want to make sure that if you hold the screen up to the light you should be able to see through all areas. If not, you need to keep cleaning!
At this point, if you are printing a repeat length or more than one colour you will need to register your screens. Registering is the process of marking up where your artwork should be placed
If you are printing with acetate film, you can simply tape the film to the back of your screen (making sure the front of your artwork is facing the back of the screen). If you have used registration marks, make sure they line up with the registration marks on your artwork.
If you are using photographic film, the process is more involved but much more accurate.
It’s a detailed process but the basics are:
- Coat your screen with photographic emulsion. This is light sensitive so make sure you do this step quickly or in a dark room
- Once your screen’s dry make sure that there are no areas where light can come through. Touch up those areas with more photographic emulsion
- Place your artwork on the back of the screen, lining it up with your registration marks if you have them (make sure that your artwork is facing the back of the screen)
- Expose your screen using a light source (I have heard of people doing this in the backyard on a sunny day! but there are specialist units to do this).
- Wash out your screen. The section that was exposed to the light e.g. the bits that were transparent will be exposed and the parts that were opaque will wash out of your screen.
- You are now ready to start printing your design!
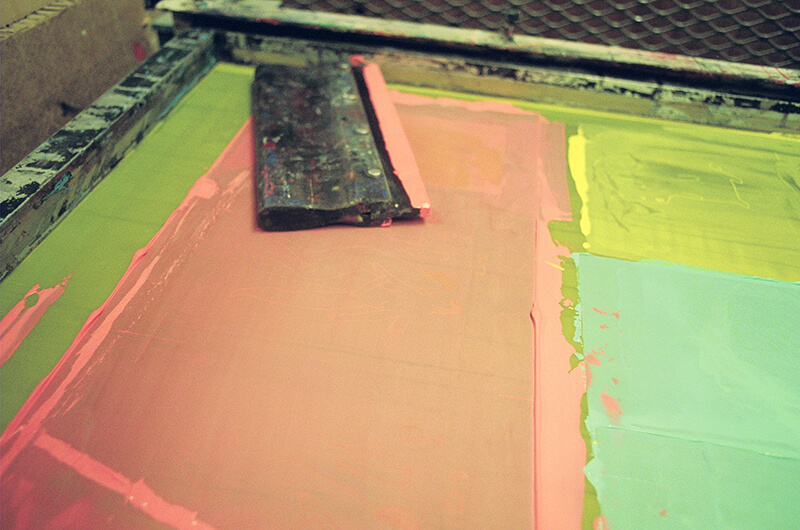
3. Printing
These are the basic steps involved in printing your design:
- Layout and secure your fabric
- If your design is in repeat you will need to correctly measure where your stops go on the print rail. This will enable you to keep your design in repeat and registration
- Place your printing medium (pigment or dyes etc) along the bottom of your screen (closest to you).
- Using a squeegee, pass the printing medium from one end of the screen to the other
- Carefully lift the screen to reveal your design
There are a number of different printing mediums you can use including:
- Transparent printing ink
- Opaque printing ink
- Dyes (of which there are numerous)
- Puff paint
- Discharge printing
- Devore printing
Your choice will depend on what outcome you are after.
I hope this hasn’t been too technical? There are obviously many more intricate steps involved but this is a general guide for how you can screen print onto fabric. I hope it helps you know your limitations when you are designing.
Do you think it’s something you might like to try?
REMEMBER: one of the most important things you need to remember is that each colour requires a different screen and this will affect how many colours you can use within your design.
You probably have noticed that a lot of designer-makers only use one or two colours with their printed designs and now you know why!
Do you have any questions? Comments? Let’s chat below
Want to create another revenue stream by turning your art into surface pattern designs?
Get the free guide
Get my FREE Surface Pattern Design Starter Guide


